What you need
- Milk — 1 quart (about 1 liter). Whole milk makes the thickest, creamiest yogurt; 2% and skim set thinner. Any dairy milk works. For extra thickness, whisk in 2–3 tablespoons of dry milk powder before heating.
- A starter — 2 tablespoons of plain yogurt with “live active cultures,” or a powdered yogurt culture. The starter is the living bacteria that turns milk into yogurt. Any plain, unflavored yogurt that lists live cultures works for the first batch; after that, you can save 2 tablespoons of your own.
- A thermometer. The two temperatures below are the difference between yogurt and warm milk. An instant-read or clip-on thermometer is the one tool worth having.
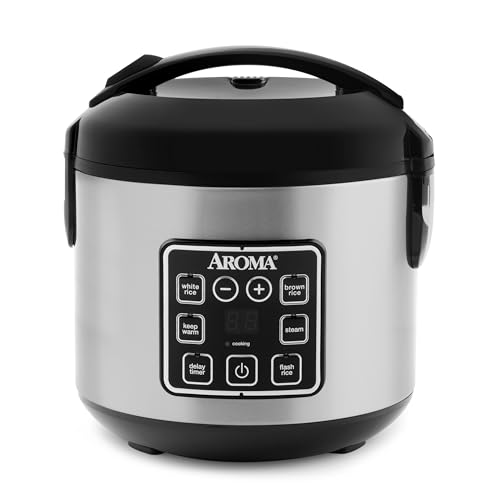
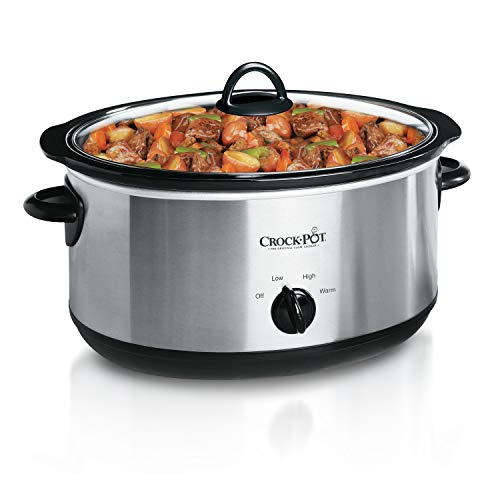
- Something that holds ~110°F for several hours — a yogurt maker, an Instant Pot, an oven with the light on, or an insulated cooler. More on each below.
The method, step by step
1. Heat the milk to ~180°F
Warm the milk slowly to about 180°F (82°C), stirring so it does not scorch, and hold it there for around 10 minutes. This step is not optional if you want thick yogurt: heating denatures the whey proteins so they form a firmer gel, and it clears out competing bacteria. (Ultra-pasteurized milk has already been heated and can skip this, but the texture is better if you do it anyway.)
2. Cool the milk to ~110°F
Let the milk cool to 110°F (43°C). This is the most-skipped, most-important number. Yogurt cultures are thermophilic — they work best between about 105°F and 115°F. Add your starter to milk that is hotter than ~115°F and you kill the bacteria before they start; add it to milk that is too cool and fermentation is sluggish. Cooling in a sink of cold water speeds this up.
3. Stir in the starter
Whisk 2 tablespoons of your live-culture yogurt (or the amount on your powdered culture packet) into the 110°F milk until fully dissolved. More starter is not better — too much crowds the culture and can produce a sour, thinner result. Two tablespoons per quart is the reliable ratio.
4. Incubate at ~110°F for 6–12 hours
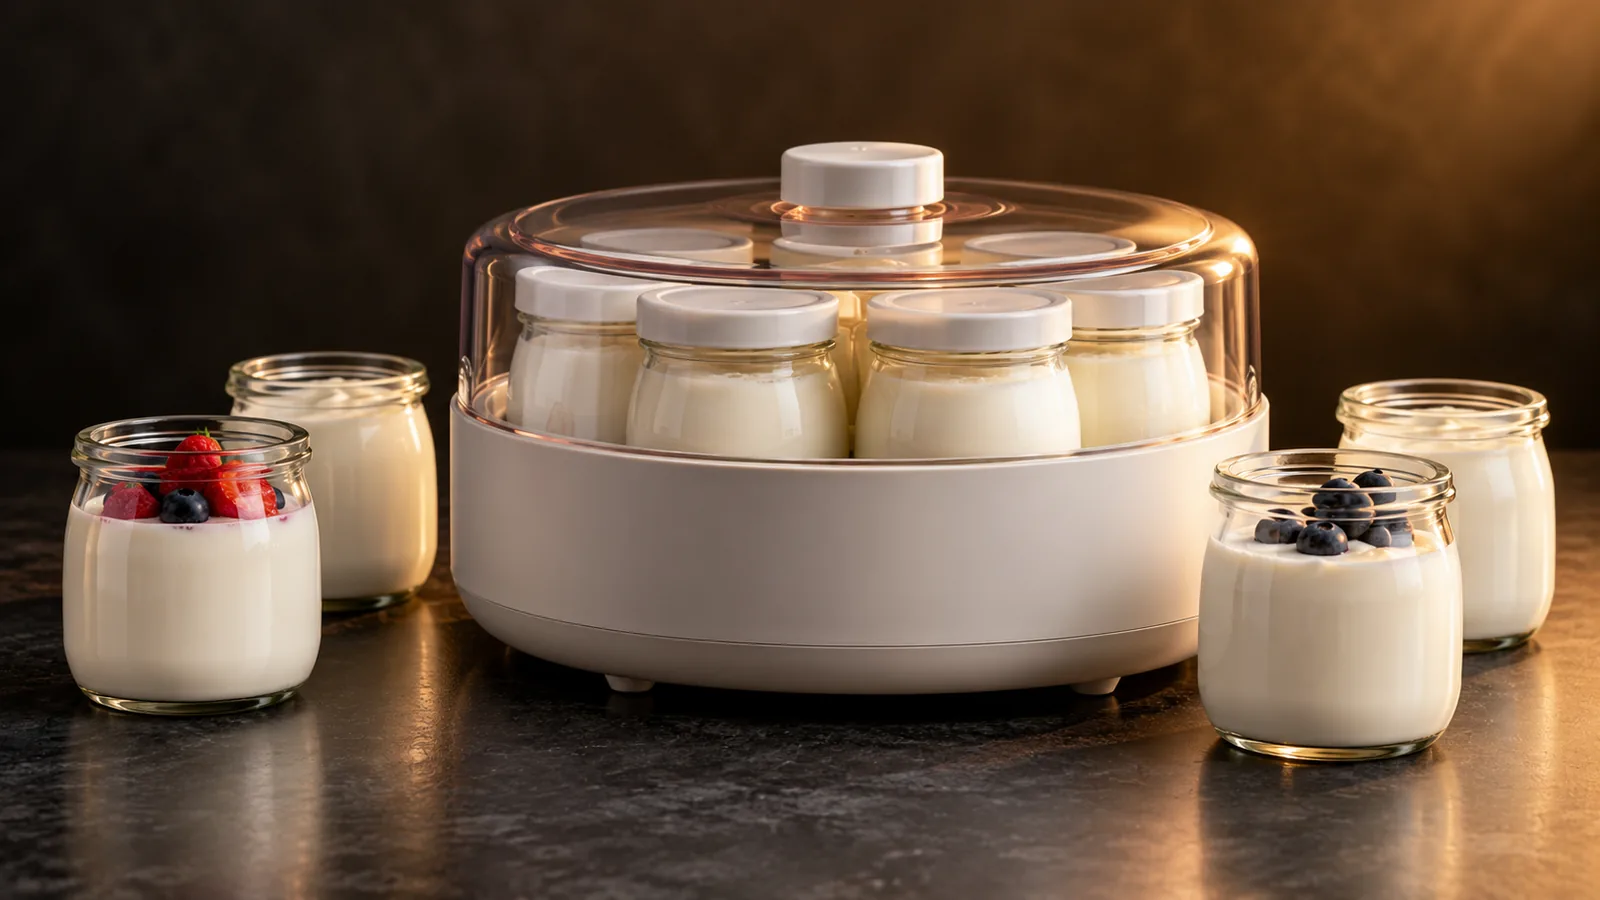
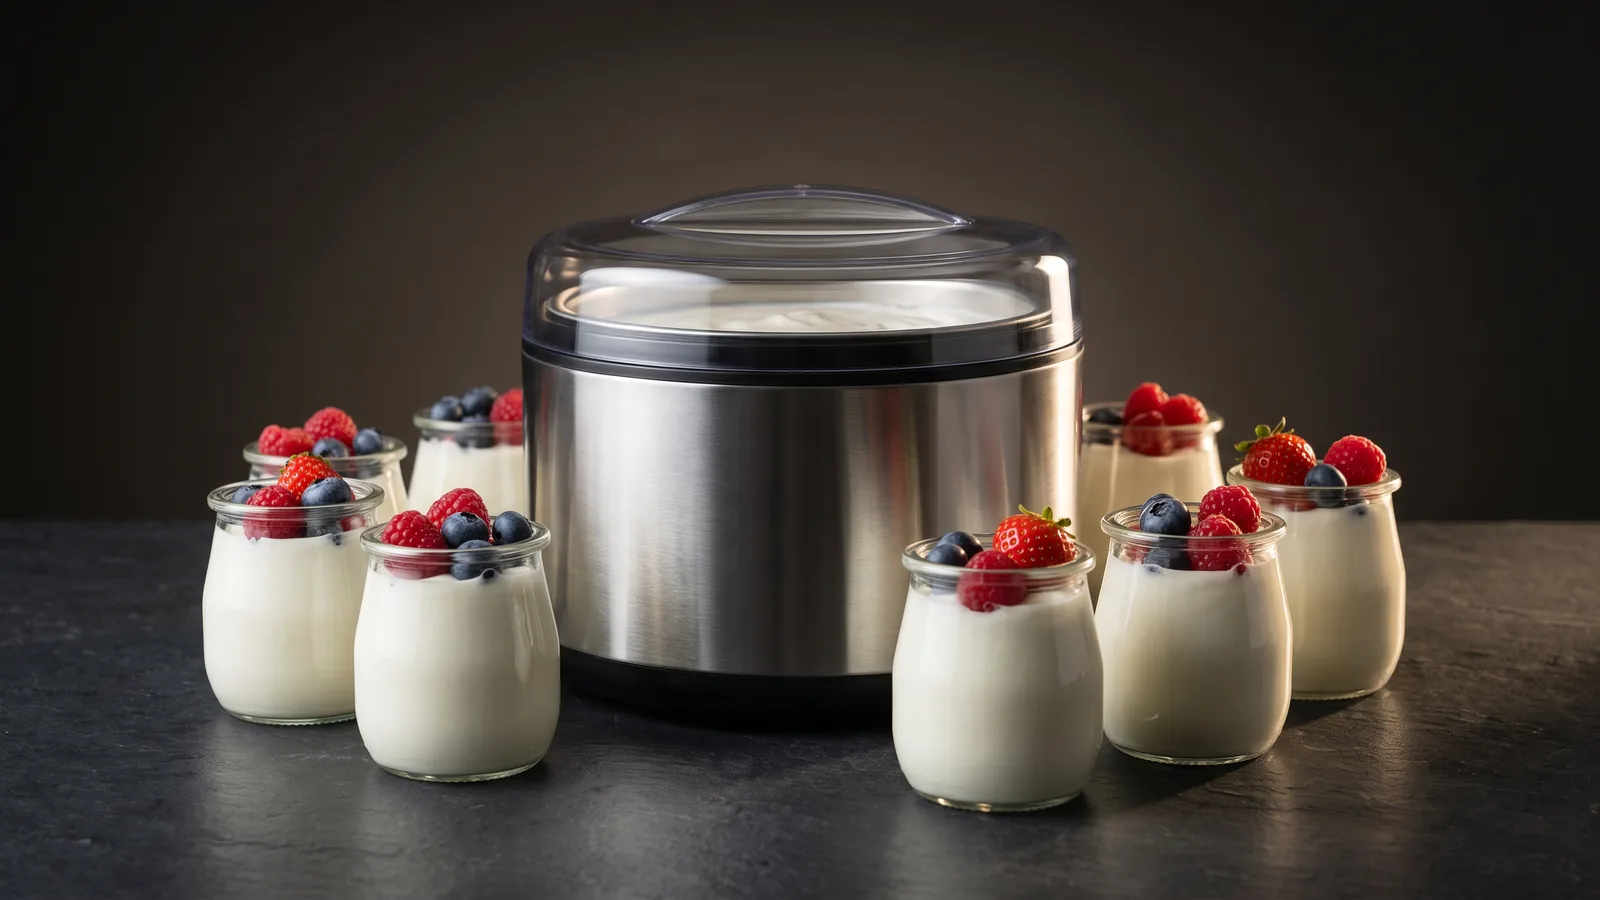
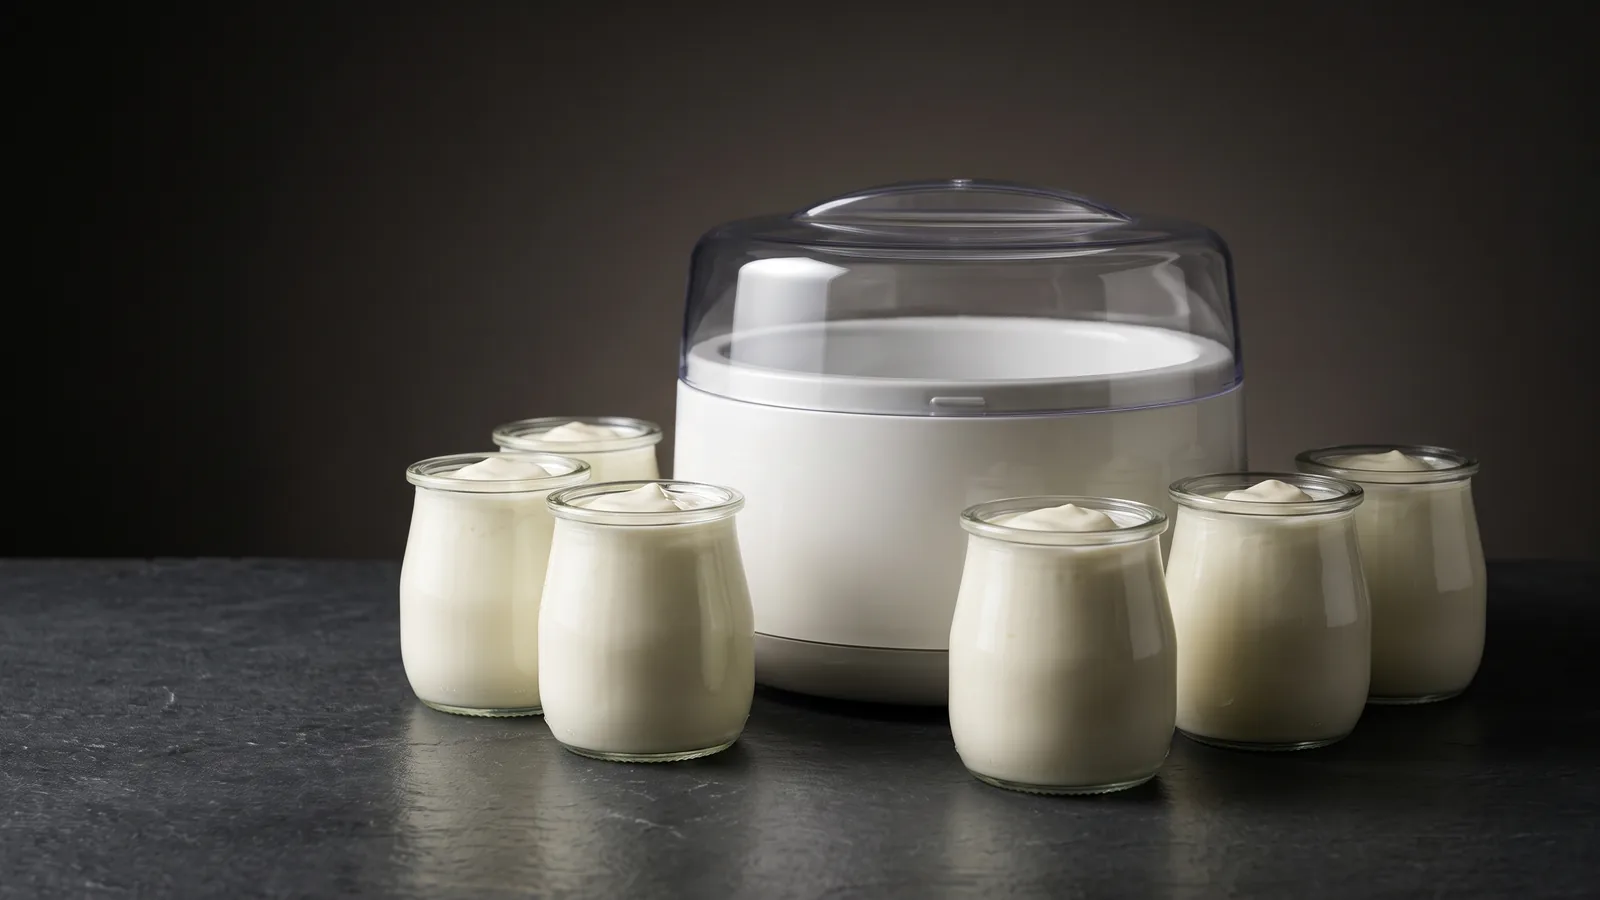
Keep the mixture undisturbed at about 110°F. Do not stir or move it while it works — the gel is forming, and disturbing it breaks the set. Six hours gives a mild, soft yogurt; ten to twelve gives a thicker, tangier one. This is the step a yogurt maker exists for: it holds the temperature precisely and automatically, which is why its batches are consistent. See how a yogurt maker works for why steady temperature is the only thing that matters.
5. Chill to set
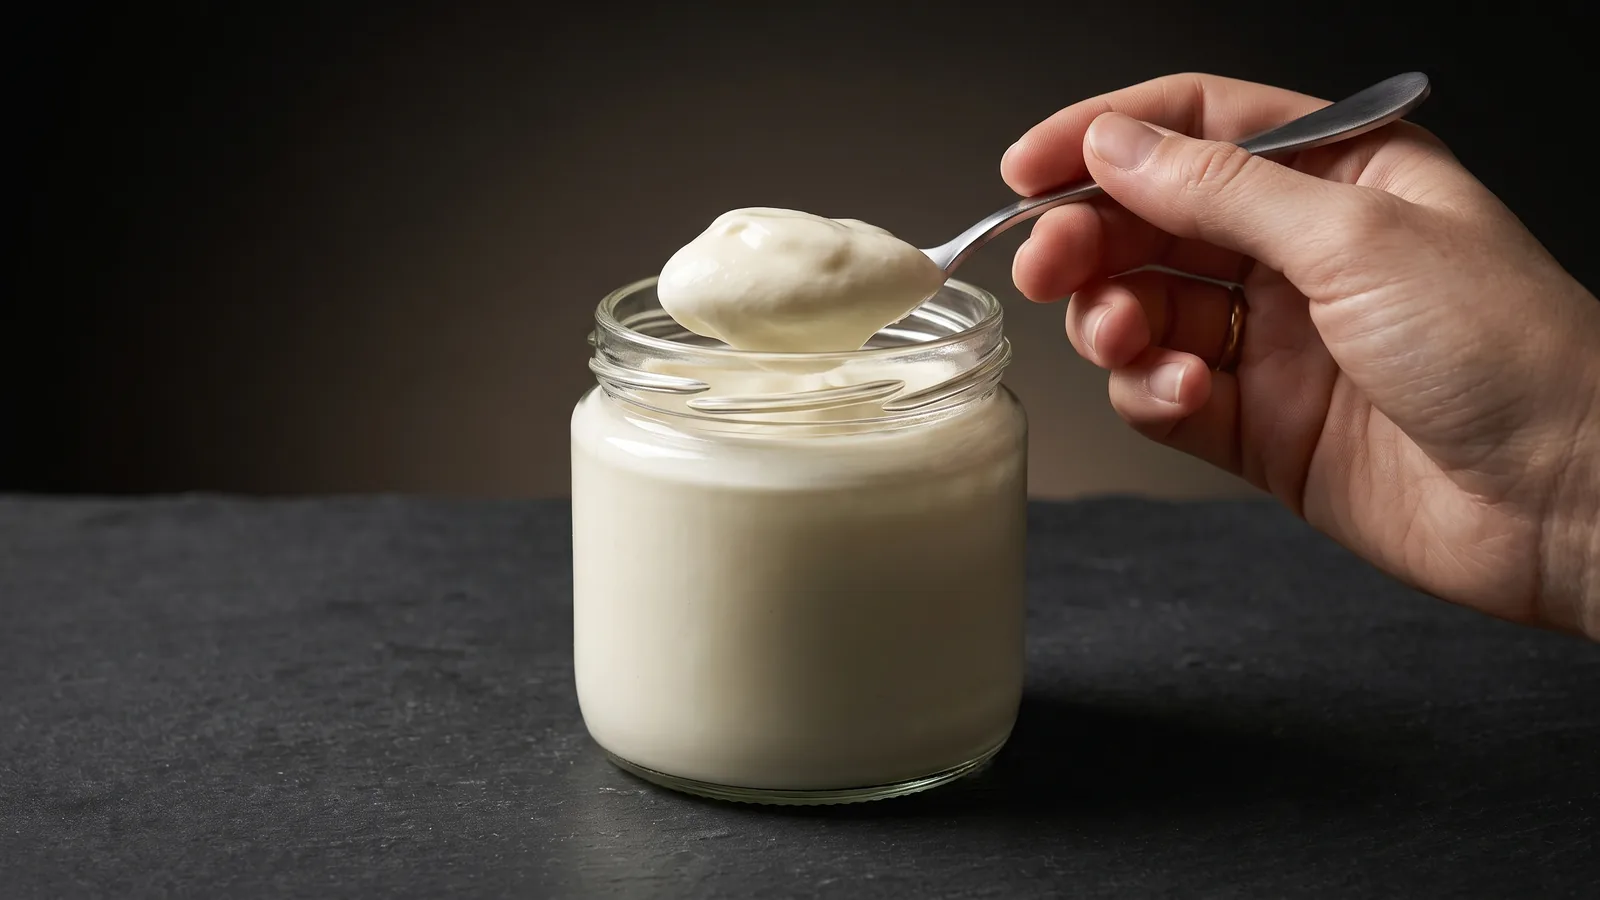
When the time is up the yogurt will look barely set and jiggly — that is normal. Refrigerate it for at least 4 hours. It firms up fully as it chills and the fermentation stops. Save 2 tablespoons to start your next batch.
Yogurt temperatures at a glance (°F and °C)
Temperature is the whole game, so here are every number that matters in one place — in both Fahrenheit and Celsius:
| Stage | Temperature | Why it matters |
|---|---|---|
| Heat the milk | 180°F / 82°C | Denatures whey proteins for a firm, thick set |
| Cool before adding starter | ~110°F / 43°C | Warm enough to work, cool enough not to kill the culture |
| Incubate (the target) | ~110°F / 43°C | The steady temperature the batch sets at |
| Incubation viable window | 105–115°F / 40–46°C | Cultures ferment efficiently in this range |
| Culture dies above | 115°F / 46°C | Too hot kills the bacteria — the batch fails |
| Chill to set and store | Below 40°F / 4°C | Stops fermentation and firms the texture |
The two you cannot get wrong are 180°F to heat and 110°F to incubate. Miss the incubation number and the batch runs runny or curdled — which is exactly the variable a yogurt maker exists to remove.
How to make yogurt without a yogurt maker
A yogurt maker only does one thing: hold the incubation temperature. Any of these substitutes can do the same job — they just drift more, which is where makeshift batches go wrong:
- Oven with the light on: the bulb’s heat holds many ovens near 100–110°F. Check yours with a thermometer first; some run cooler.
- Instant Pot / multicooker “yogurt” setting: heats and incubates in one pot. Convenient, though the pot’s temperature is less precise than a dedicated maker. See yogurt maker vs Instant Pot.
- Insulated cooler: nestle the jars in a cooler filled with 110°F water; it holds heat for hours.
- Dehydrator: set to 110°F if it goes that low.
All of these work; none holds temperature as steadily or as hands-off as a purpose-built machine. If your homemade yogurt keeps coming out inconsistent, temperature drift is almost always the reason — and it is the case for buying a yogurt maker.
Making it Greek (thicker) yogurt
Greek yogurt is just regular yogurt with the whey strained out. Line a sieve with cheesecloth or a coffee filter, spoon in the finished yogurt, and let it drain in the refrigerator for 1–4 hours — the longer it drains, the thicker it gets, until it approaches the density of cream cheese. For the difference between Greek and regular and how it affects your machine choice, see Greek yogurt vs regular yogurt.
Why homemade yogurt fails — and the fix
| Problem | Usual cause | Fix |
|---|---|---|
| Runny, never set | Incubation too cool or drifting; skipped the 180°F heat step | Hold a steady 110°F; heat the milk first |
| Grainy or curdled | Incubated too hot (above ~115°F) | Lower the temperature; don’t over-warm |
| Not tangy enough | Too short an incubation | Incubate longer (10–12 hours) |
| Too sour | Incubated too long | Shorten the next batch |
| Weak set even at temperature | Old or inactive starter | Use fresh yogurt with live cultures |
Nearly every failure traces back to temperature control during incubation, which is exactly why a dedicated machine produces more reliable results than an oven or cooler. If you want the mechanism in depth, how a yogurt maker works explains why 110°F is the threshold.
A note on plant-based yogurt
Non-dairy milks (oat, almond, coconut, soy) contain little or no lactose for the cultures to feed on, so making plant-based yogurt takes a vegan culture plus an added sugar and usually a thickener. The temperatures are the same; the recipe is not. See how to make plant-based yogurt in a yogurt maker for the full method.
Do you need a yogurt maker to make yogurt?
No — but a maker removes the one variable that causes most failures. If you make yogurt occasionally and can babysit the temperature, an oven or Instant Pot is enough. If you want reliable yogurt on a regular schedule without watching a thermometer, a dedicated maker is worth it. Our picks by use case are in the best yogurt makers, and how to choose a yogurt maker walks through what actually matters when you buy one.