What frothing actually is
Foam is air trapped in a web of milk proteins and fat. Every frothing method does the same physical thing — it whips air into the milk fast enough that the proteins wrap around the bubbles and hold them. That is why the milk and the temperature matter more than the tool: the tool just supplies the agitation.
The methods, easiest to most involved
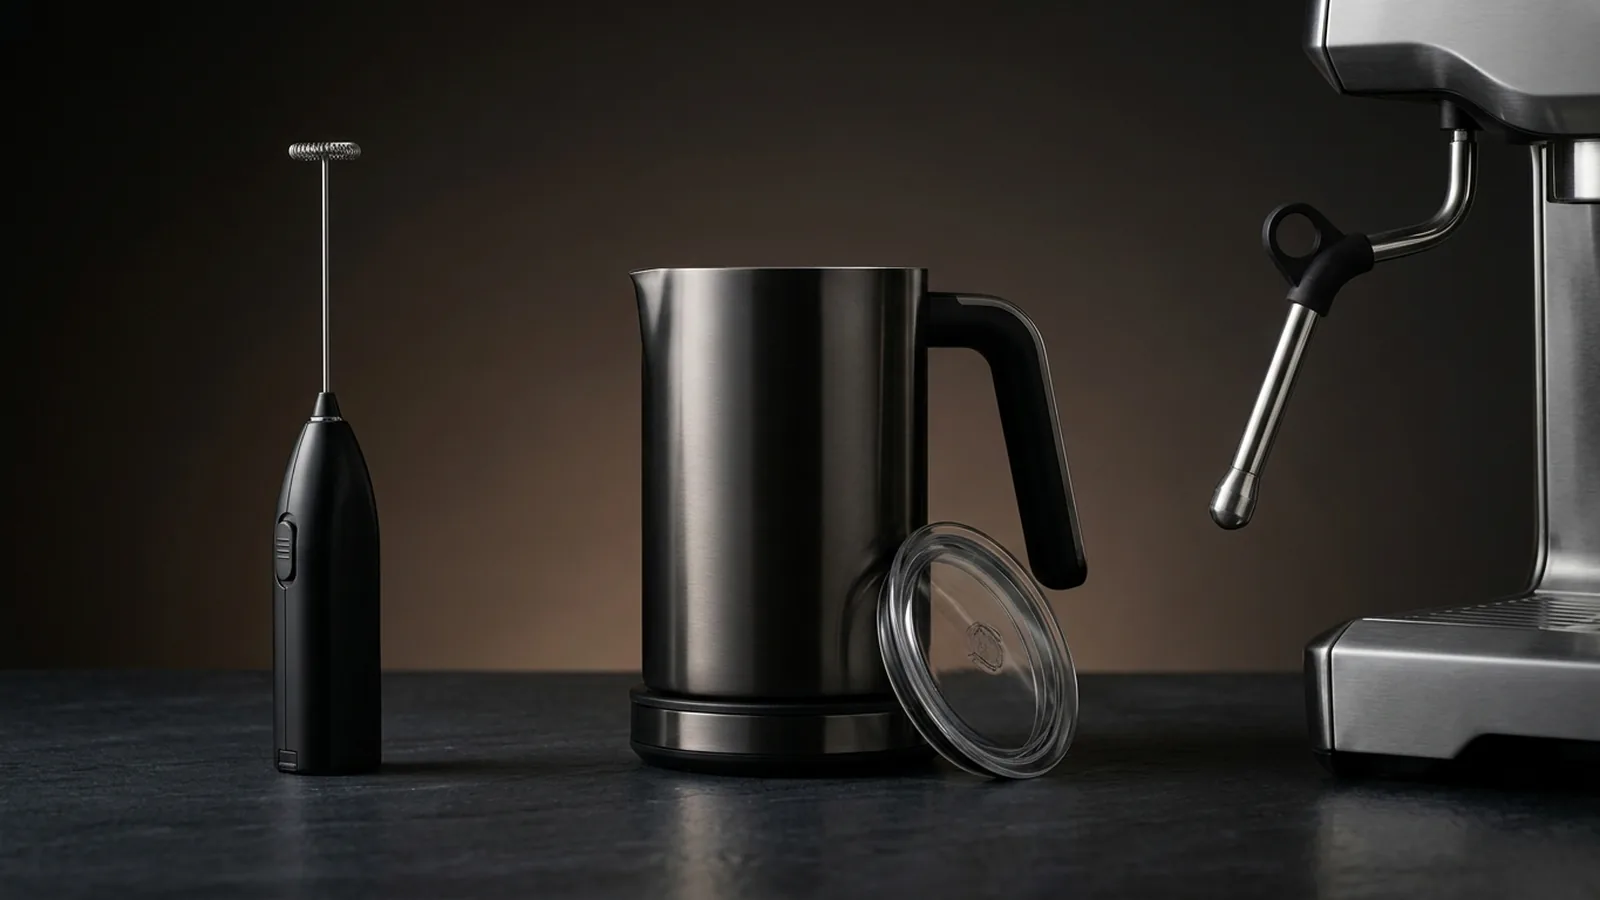
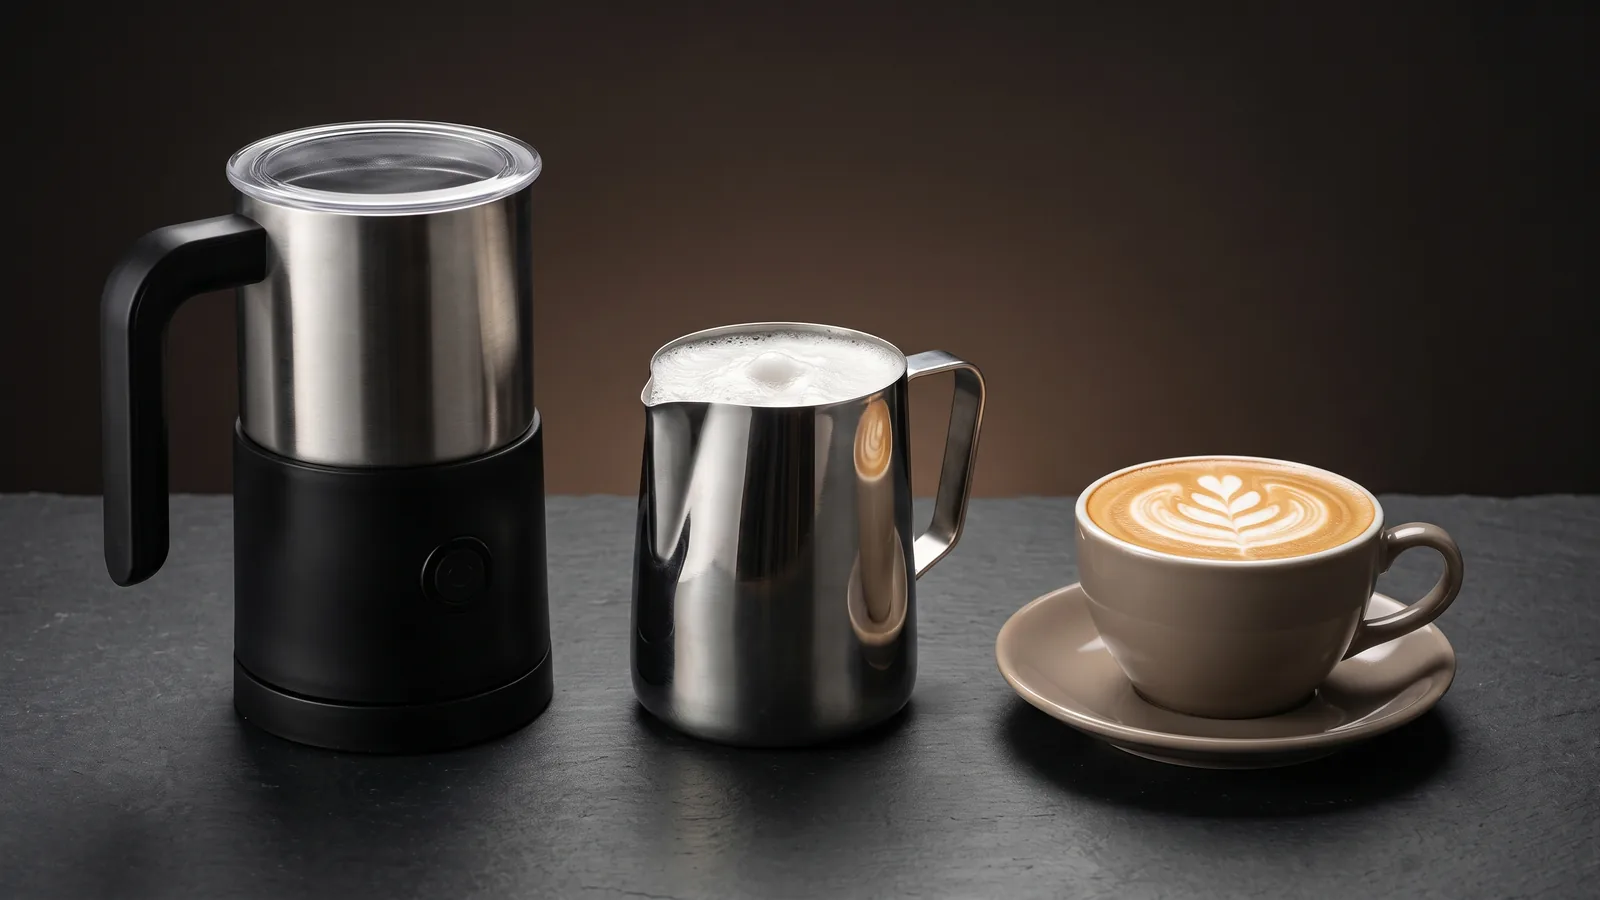
- Electric (automatic) frother: pour milk in, press a button; it heats and whips at once. The most hands-off, and the reason most people buy a dedicated frother.
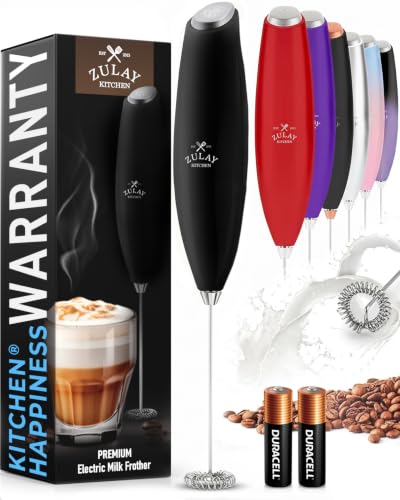
- Handheld frother (wand): a battery whisk you dip into warm milk. Cheap, fast, and it works — you just heat the milk separately first.
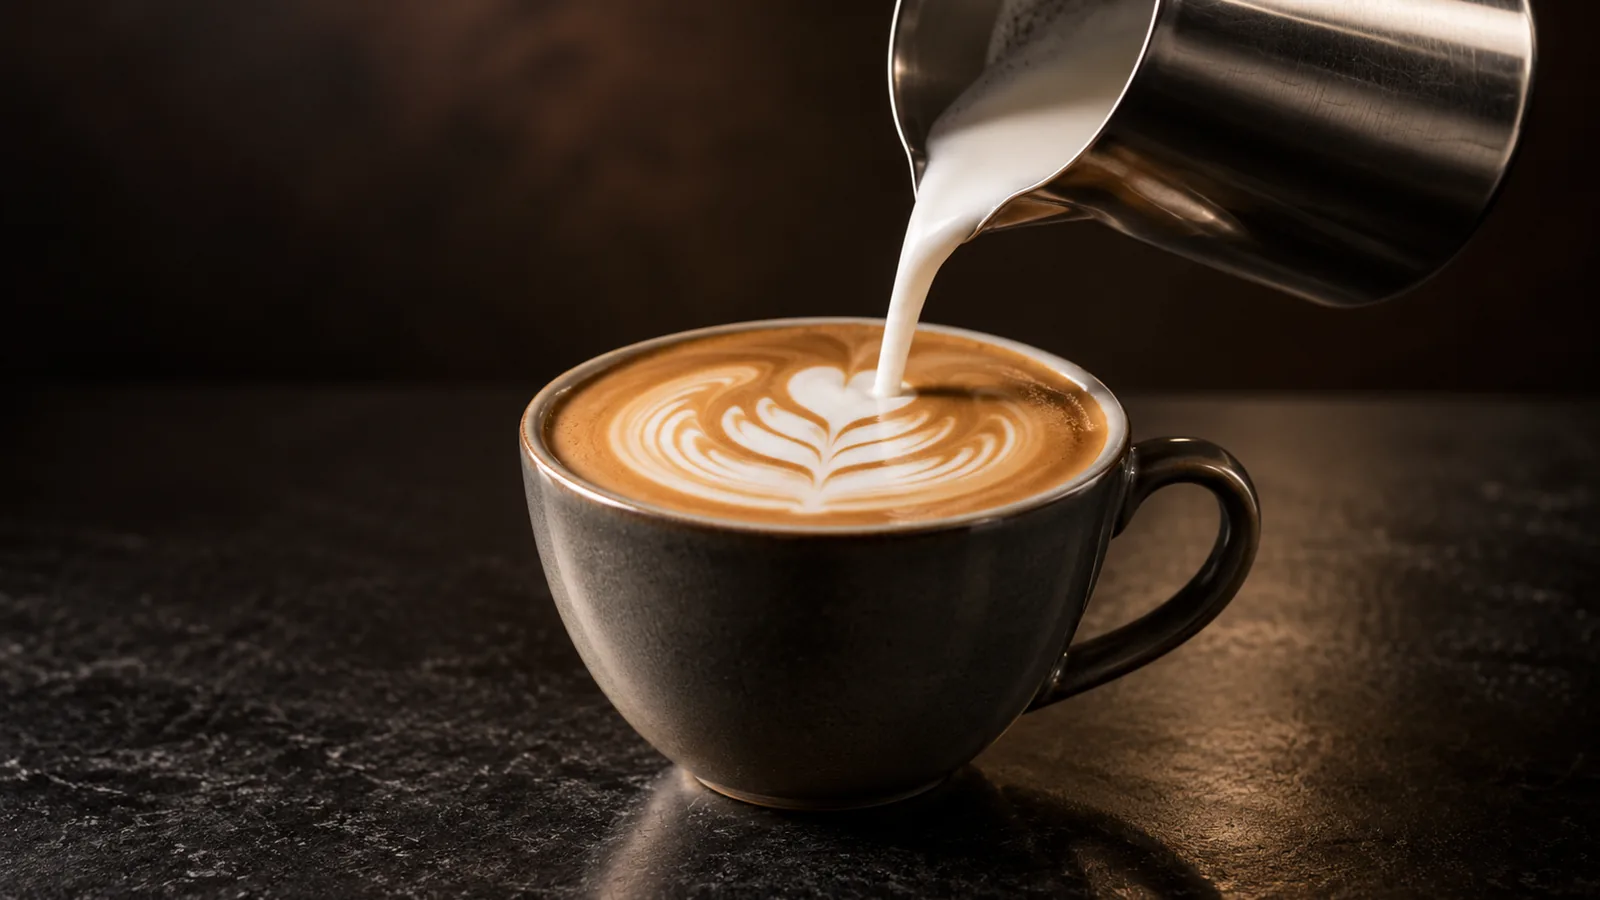
- Steam wand: the pressurized steam arm on an espresso machine. It produces the finest microfoam for latte art, and has the steepest learning curve.
- French press: add warm milk and pump the plunger up and down for 20–30 seconds. No extra gadget if you already own one.
- Sealed jar: fill a jar a third full with cold milk, shake 30–60 seconds, then microwave uncovered ~30 seconds to set the foam.
- Whisk or immersion blender: both aerate warm milk in under a minute.
For how each device works and which to buy, see types of milk frothers.
The two variables that decide the result
Milk
Protein and fat build stable foam. Whole dairy is the most forgiving. 2% froths well; skim makes lots of big, dry bubbles that fall fast. Among plant milks, barista oat and soy froth nearly like whole dairy because they’re formulated with extra protein and stabilizers, while plain almond milk is the hardest to keep foamed. Fresh, cold milk froths better than milk near its expiry.
Temperature
Warm the milk to 140–150°F — hot enough to steam and taste sweet, not so hot it scalds. Past about 160°F the proteins denature, the foam collapses, and the milk takes on a cooked taste. If you don’t have a thermometer, stop when the jug is hot to the touch but you can still hold it for a couple of seconds.
Microfoam vs. foam: latte vs. cappuccino
- Latte → microfoam: froth just until the milk thickens to a glossy, paint-like sheen with no visible bubbles. It pours smoothly and integrates into the coffee.
- Cappuccino → foam: aerate a few seconds longer for more, airier, drier foam that sits on top.
Either way, tap the jug on the counter to pop large bubbles and swirl before pouring.
Cold foam
Cold foam is simply frothed cold milk. Skim or low-fat dairy actually foams thicker cold (no fat to weigh it down); barista oat makes a good dairy-free version. Whip cold milk with a handheld frother or blender for 30–60 seconds until it holds soft peaks, then spoon it over iced coffee. Use it right away — with no heat to set it, it softens quickly.
Why milk won’t froth — the quick fixes
| Problem | Cause | Fix |
|---|---|---|
| No foam forms | Milk too hot (over ~160°F) | Reheat fresh milk only to 140–150°F |
| Foam collapses instantly | Low-protein milk (plain almond, skim) | Use whole dairy or “barista” plant milk |
| Thin, weak foam | Milk near expiry, or under-aerated | Use fresh milk; froth a full 20–30 seconds |
| Big soapy bubbles | Over-aerated or skim milk | Tap the jug and swirl; froth a touch less |
Nearly every failure comes back to milk choice or temperature — get those two right and any method foams.
See also: The best milk frothers — our ranked, data-backed picks.